 |
| Acer Aspire 5930G with the display cable fixed |
Earlier I commented that in several ACER laptops the picture failed by the cable, and the solution to tighten the connection area does not give permanent results, so sick of the problem, ordered a new cable from Ebay. 15 days later it came to me:
In this post we will see the steps to take to change the cable screen (make that is the problem before changing; it is not the most common).
This guide will give us the necessary guidelines to disarm any screen, since all are constructed similarly.
Steps to change the cable
Through a series of photos I hope the steps are clear (to see if I start doing video tutorials, I have to get myself a good tripod for the camera XD, I would take less time and stay clear).
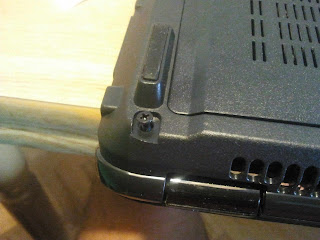
The first is to remove the plastic cover, which is where the power buttons and plugging the cable connections from the screen;
Then we discovered the four blocks in the corners on this screen (on screens other teams may have more screws but the theory is the same), to release them and take part:
To remove the front bezel will loose the microphone cable (pulling on the male but not the wires so that it will not break), and it will release the webcam:
Has brake brackets secured to the casing of the notebook; screw above:
And one below on each side that we hold to unlock the screen and gain access to the wiring either.
And release the data cable is overweight; all connections that will display (image, webcam, microphone, inverter for lamps) will that connection. And now there are four screws holding the LCD to the rear, two on each side (center of the picture below) we lack:
Be careful with the two wires (black and gray) WI-FI on the right to go to the rear of the TFT (which acts as the antenna) to the team; I did not have to drop them, only untied so that would not bother me at the time to fix the laptop.
Once loose 4 screws from the base of the supports can rotate with care to access the back where the wires will strip.
And to release the entire cable and to replace him we only need to release the screw of the inverter to enter the connector and release more easily:
The cable is attached at 3 points so it does not move; I took off and release, and proceed to paste the new, removing the protection of the stickers, beginning with the connection to place image data to the display processor that handles form the image:
We stick so that it reads as follows:
And the bottom of the well paste, so that it is near the support on that side, as in the image. Also connected to the inverter and moored in place.
Proceed to follow the steps we've done in reverse order. After checking connections and placing (no tie) screen in place, we can try turning on the laptop:
 |
| Acer Aspire 5930G with the display cable fixed |
I hope these guidelines will serve someone else.


No comments :
Post a Comment